Generating PDFs📄 using React⚛️+Tailwind🍃
React + Tailwind to PDF⁉️ In this post I’ll outline how we did it on a recent project with these requirements:
- Fits within our current stack (Next.js with Tailwind)
- Low maintenance (Preferably use an 3rd party API over HTTP)
- Easy to iterate (Nice developer experience)
- Quick to setup (We had a deadline on the project)
What we landed on is using an API that when given a link over HTTP generates an PDF from the resulting page. We could’ve generated it ourselves but didn’t want the maintenance cost of setting up a server to generate PDFs using Chromium. Previous experience within our team deemed this as not worth the inevitable hassle. The HTML page would be generated by Next.js using Tailwind; fetching the required data on the server side using GraphQL+Hasura.
Lets go through what styling💄 is needed to make the end product render predictably(relatively) and some tips to make the developer experience better.
Easy as 3.14🥧#
If you just want the code here is the link: Github. I will be referring to the code from the repo throughout. The result can be seen here: html2pdftheodorc.netlify.app. Generate a PDF from the page by printing to PDF using your browser. The example is a simple React + Tailwind project set up with Vite. The insights in this posts should be transferable to other frameworks or stacks.
The secret to generating PDFs is using a browser engine to generate it. When developing I would recommend using Chrome as there are differences between chromium(Chrome) and Gecko(Firefox) when rendering and if you are going to use an 3rd party API they are probably using a chromium based tool like Puppeteer. So Chromium will be the one source of rendering CSS truth.
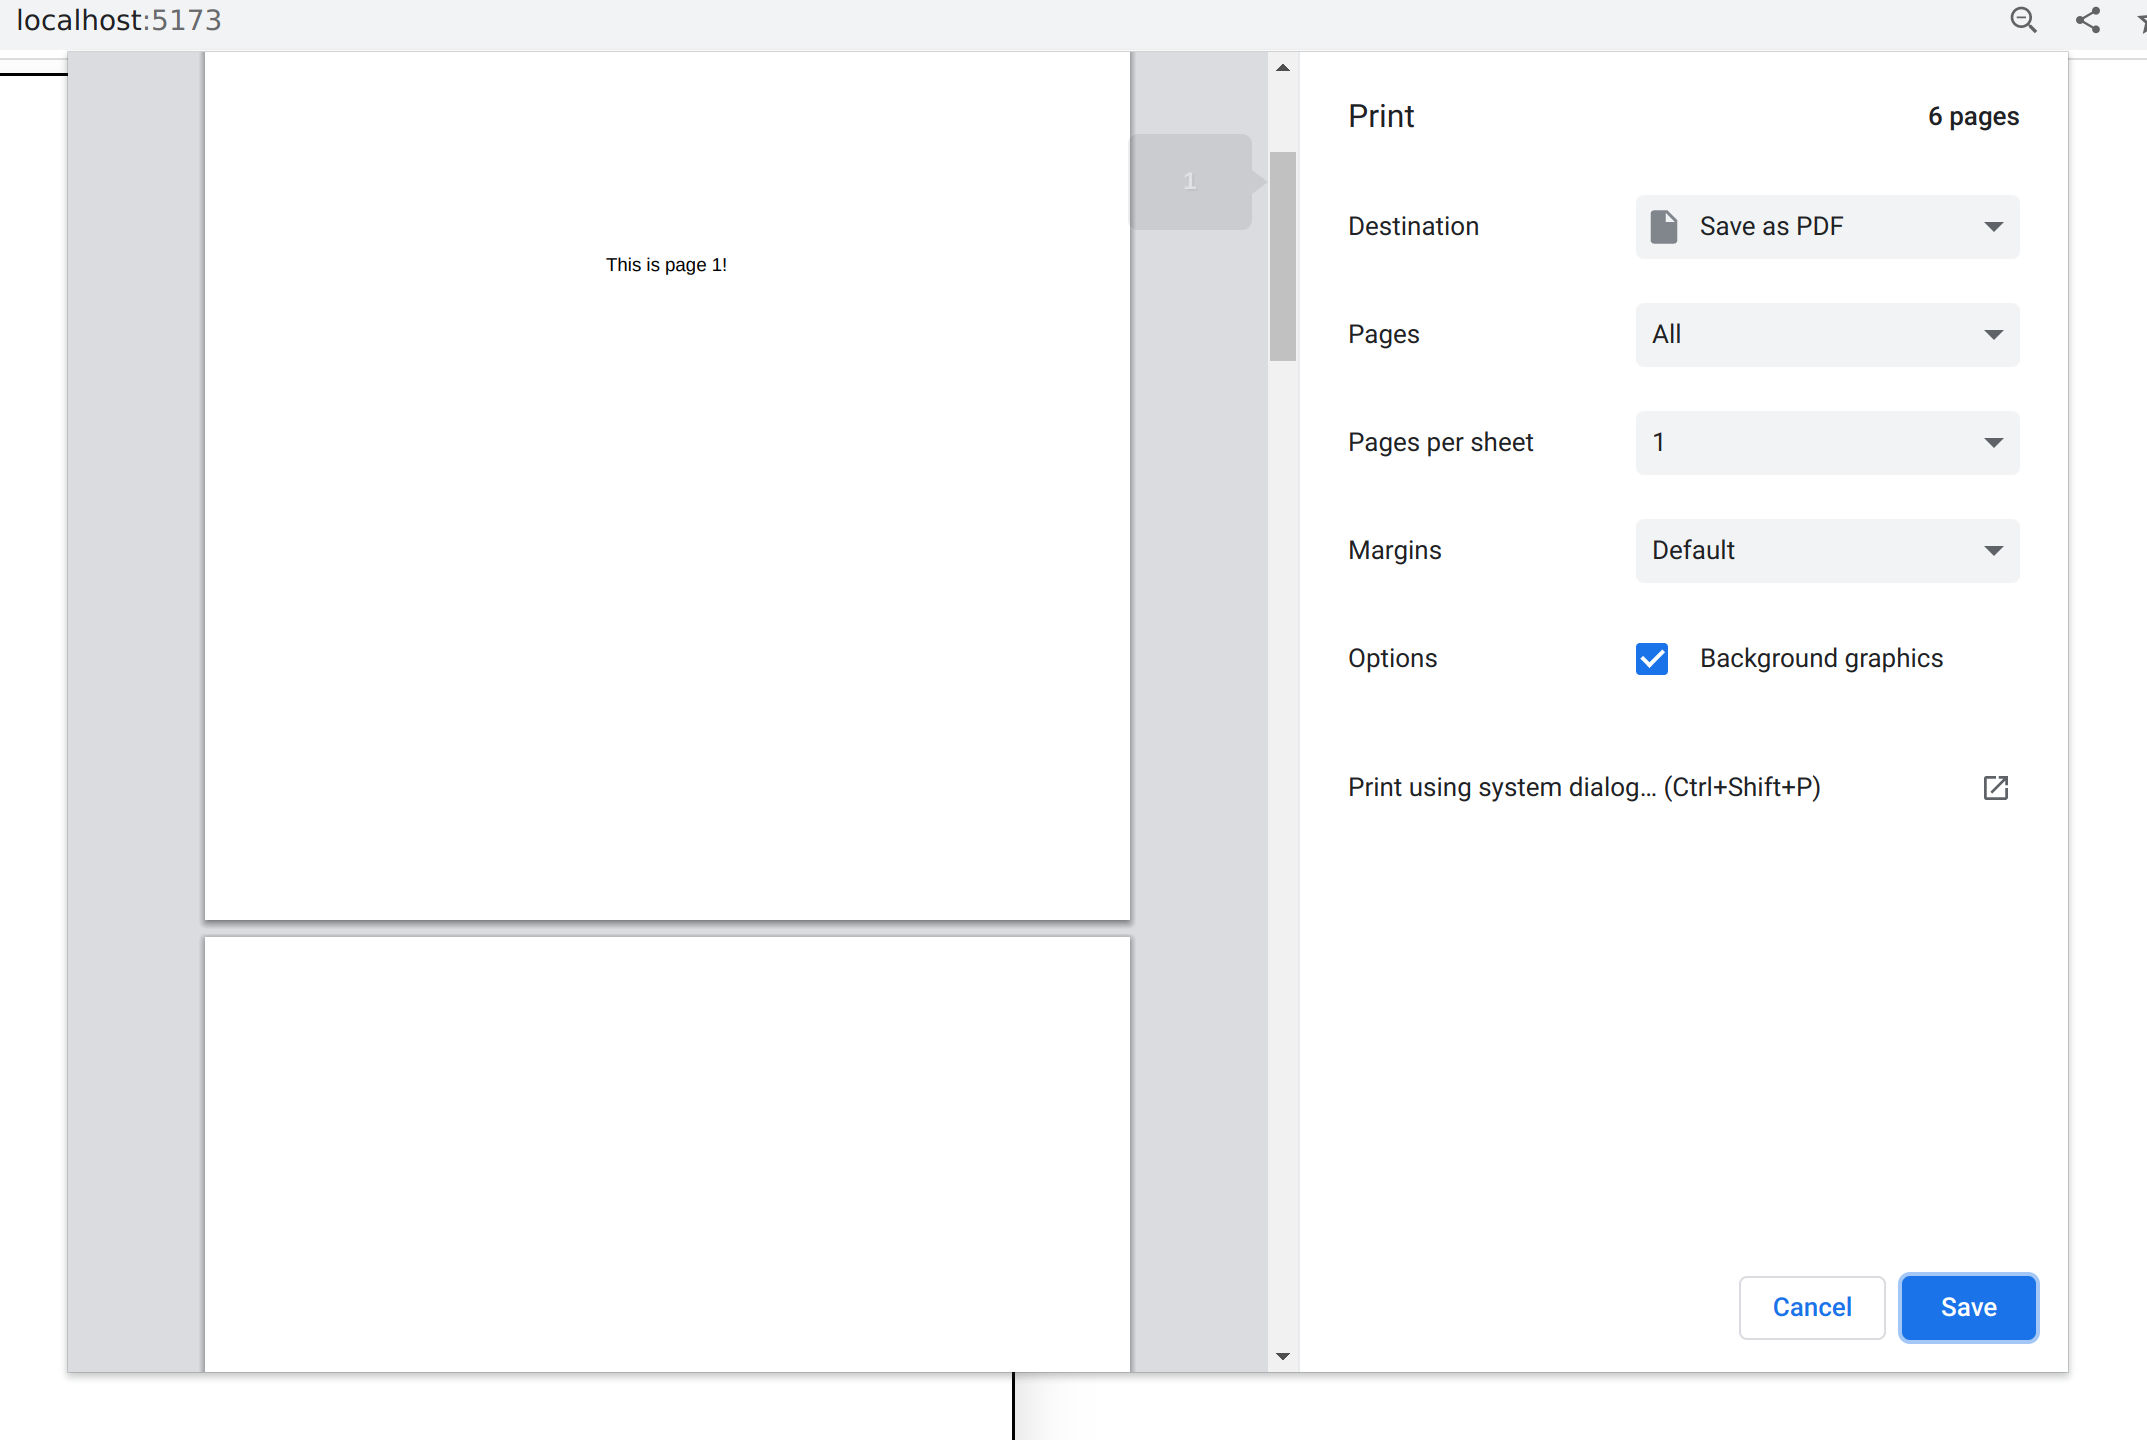
To test how you’re page will be rendered press ctrl+p🖨️ and see the preview
generated by Chrome.
Defaults🤓#
The first defaults are these:
/* src/index.css */
@page {
  margin: 0; /* Disable margins */
  size: A4 portrait; /* set the size */
}
* {
  -webkit-print-color-adjust: exact; /* always print background colors */
}
By default printing to PDF will add margins on the top and bottom. We want full
control of the content so we remove those. We set the size of the page (It’s A4
by default, but its nice to be sure). Most browser engines will not print any
background colors (to save ink most likely), so
--webkit-print-color-adjust:exact applied to * reverts this.
Generating a known number of pages 📄#
The first thing we need is a single page React component. This is great when you know you want to make X amount of pages.
// src/Page.tsx
export const Page = ({ children }: PropsWithChildren<{}>) => {
  return (
    <div
      className="
                w-[210mm]
                h-[297mm]
                border-2
                border-black
                bg-white
                shadow-2xl
                ml-2
                mt-2
                print:shadow-none
                print:shadow-0
                print:ml-0
                print:mt-0
                "
    >
      {children}
    </div>
  );
};
With this styling we set the width and height to the dimensions of an A4 page.
We add some margins and border so its easier to visualize the boundaries of the
page within the browser. Using the print media query (print: as a prefix when
using tailwind) we can set PDF/print specific CSS. The margins are also added
back, but we are in complete control of them if we want to reduce or increase
the margins. Though setting the margins in the @page directive is also a valid
decision. Shadow is added for some pizzazz.
As viewed from the browser, your page looks like this
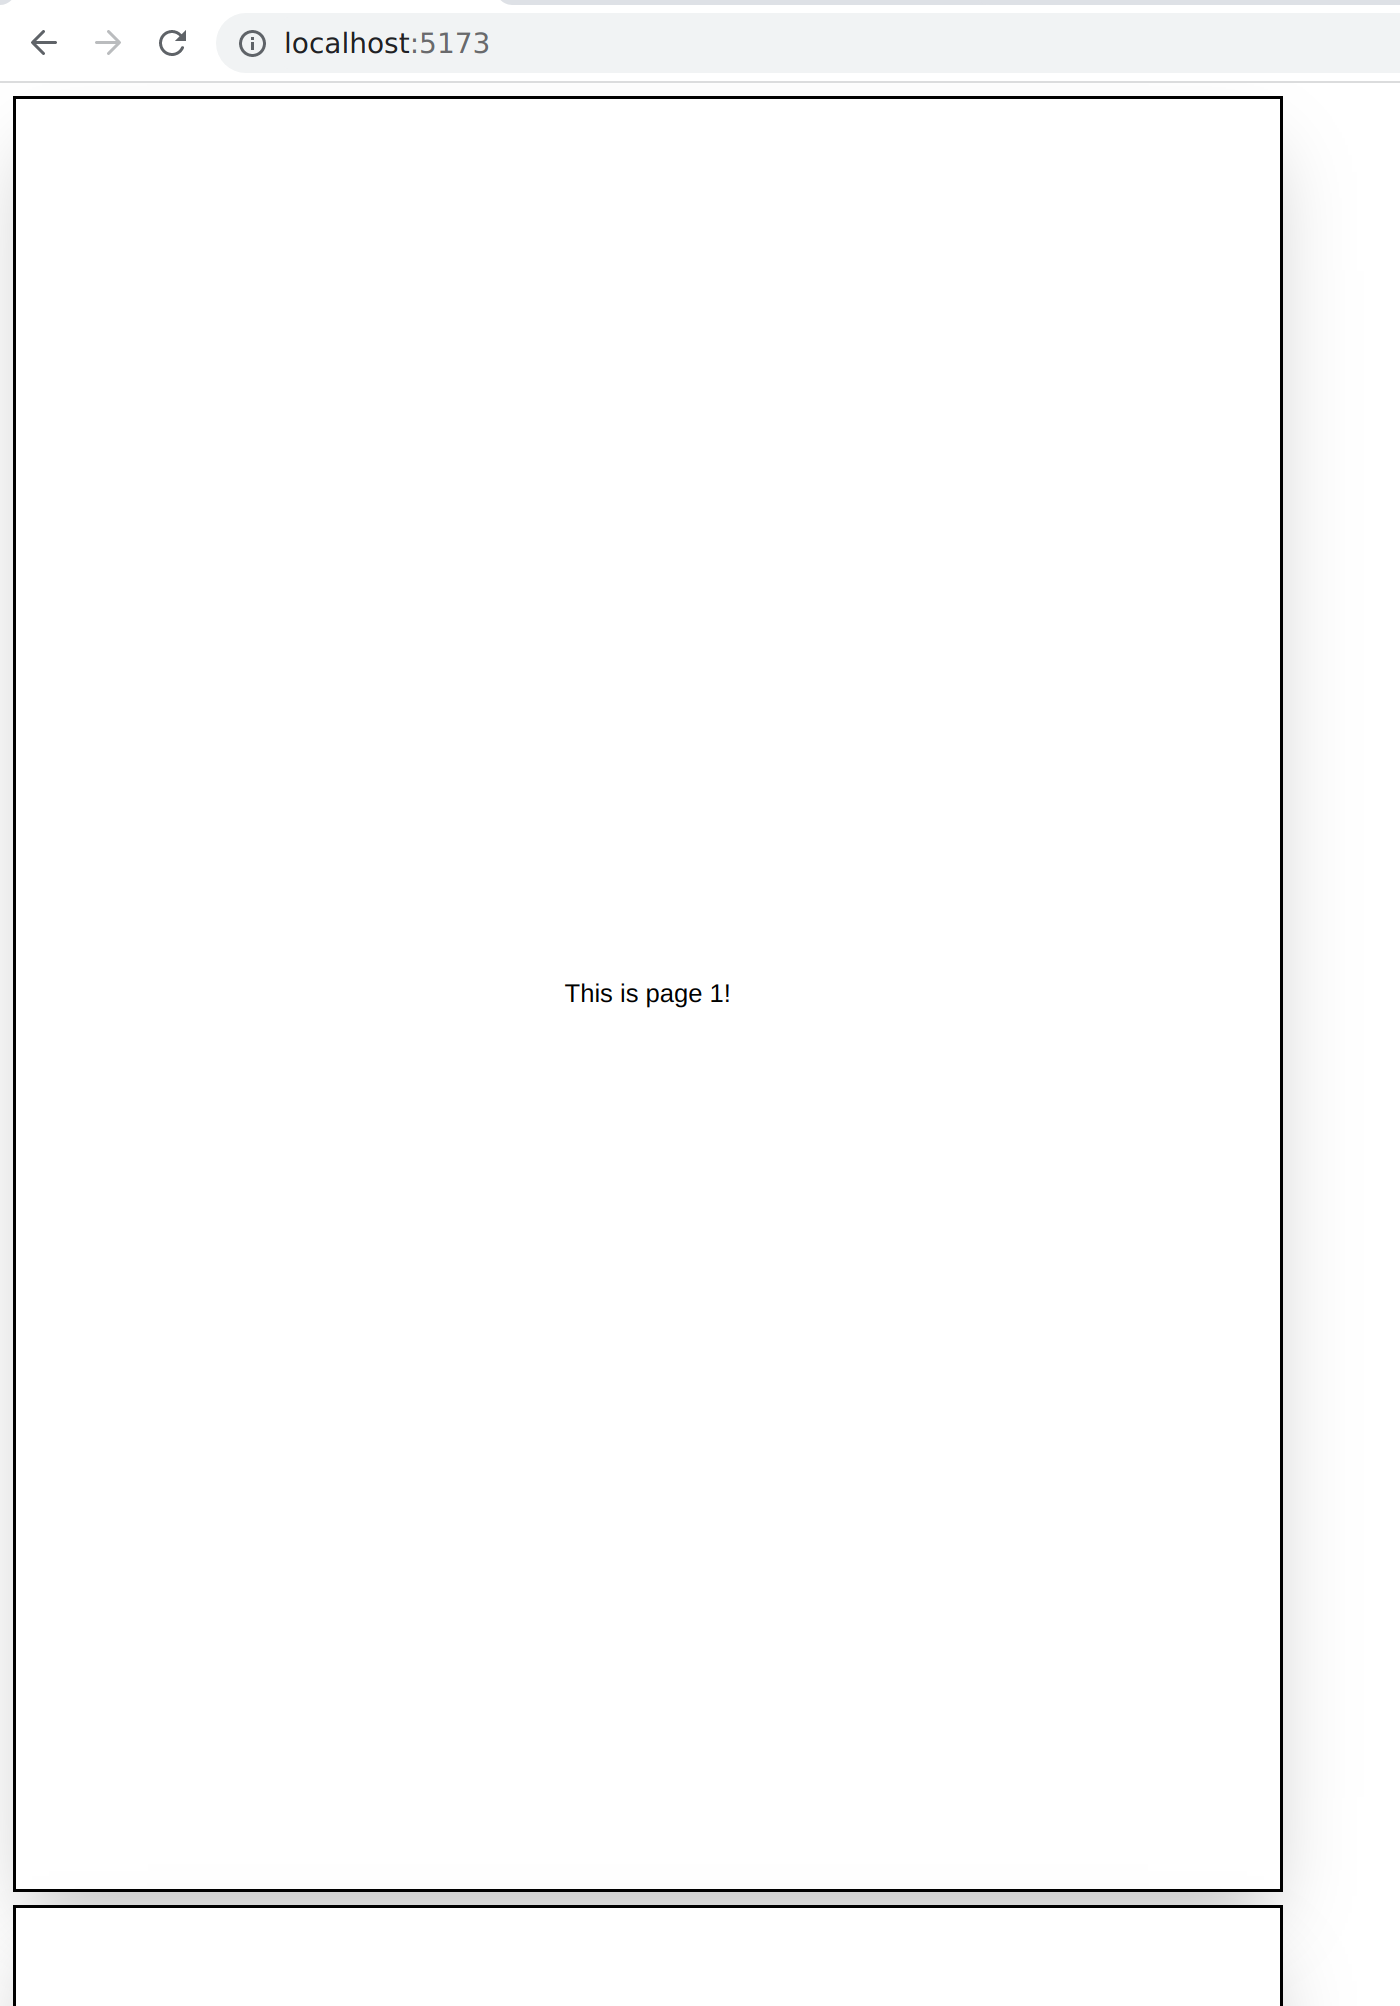
and like this when printed (within the preview window)
The content you want rendered has to be passed in as children to the component.
Generating an unknown number of pages 📃#
Depending on your use case, the number of pages might not be known at render time. We need a endless page component:
// src/Page.tsx
export const BottomlessPage = ({ children }: PropsWithChildren<{}>) => {
  return (
    <div
      className="
                w-[210mm]
                border-2
                border-black
                bg-white
                shadow-2xl
                ml-2
                mt-2
                print:border-0
                print:shadow-none
                print:ml-0
                print:mt-0
                "
    >
      {children}
    </div>
  );
};
The only difference being that the height is not set. The issue now is making
sure your content breaks between pages as expected. Using break-inside-avoid
with precision you will most likely get your result(there used to be an issue
where the attribute didn’t work within flex or grid components, but this
seems to be fixed, at least in Chromium).
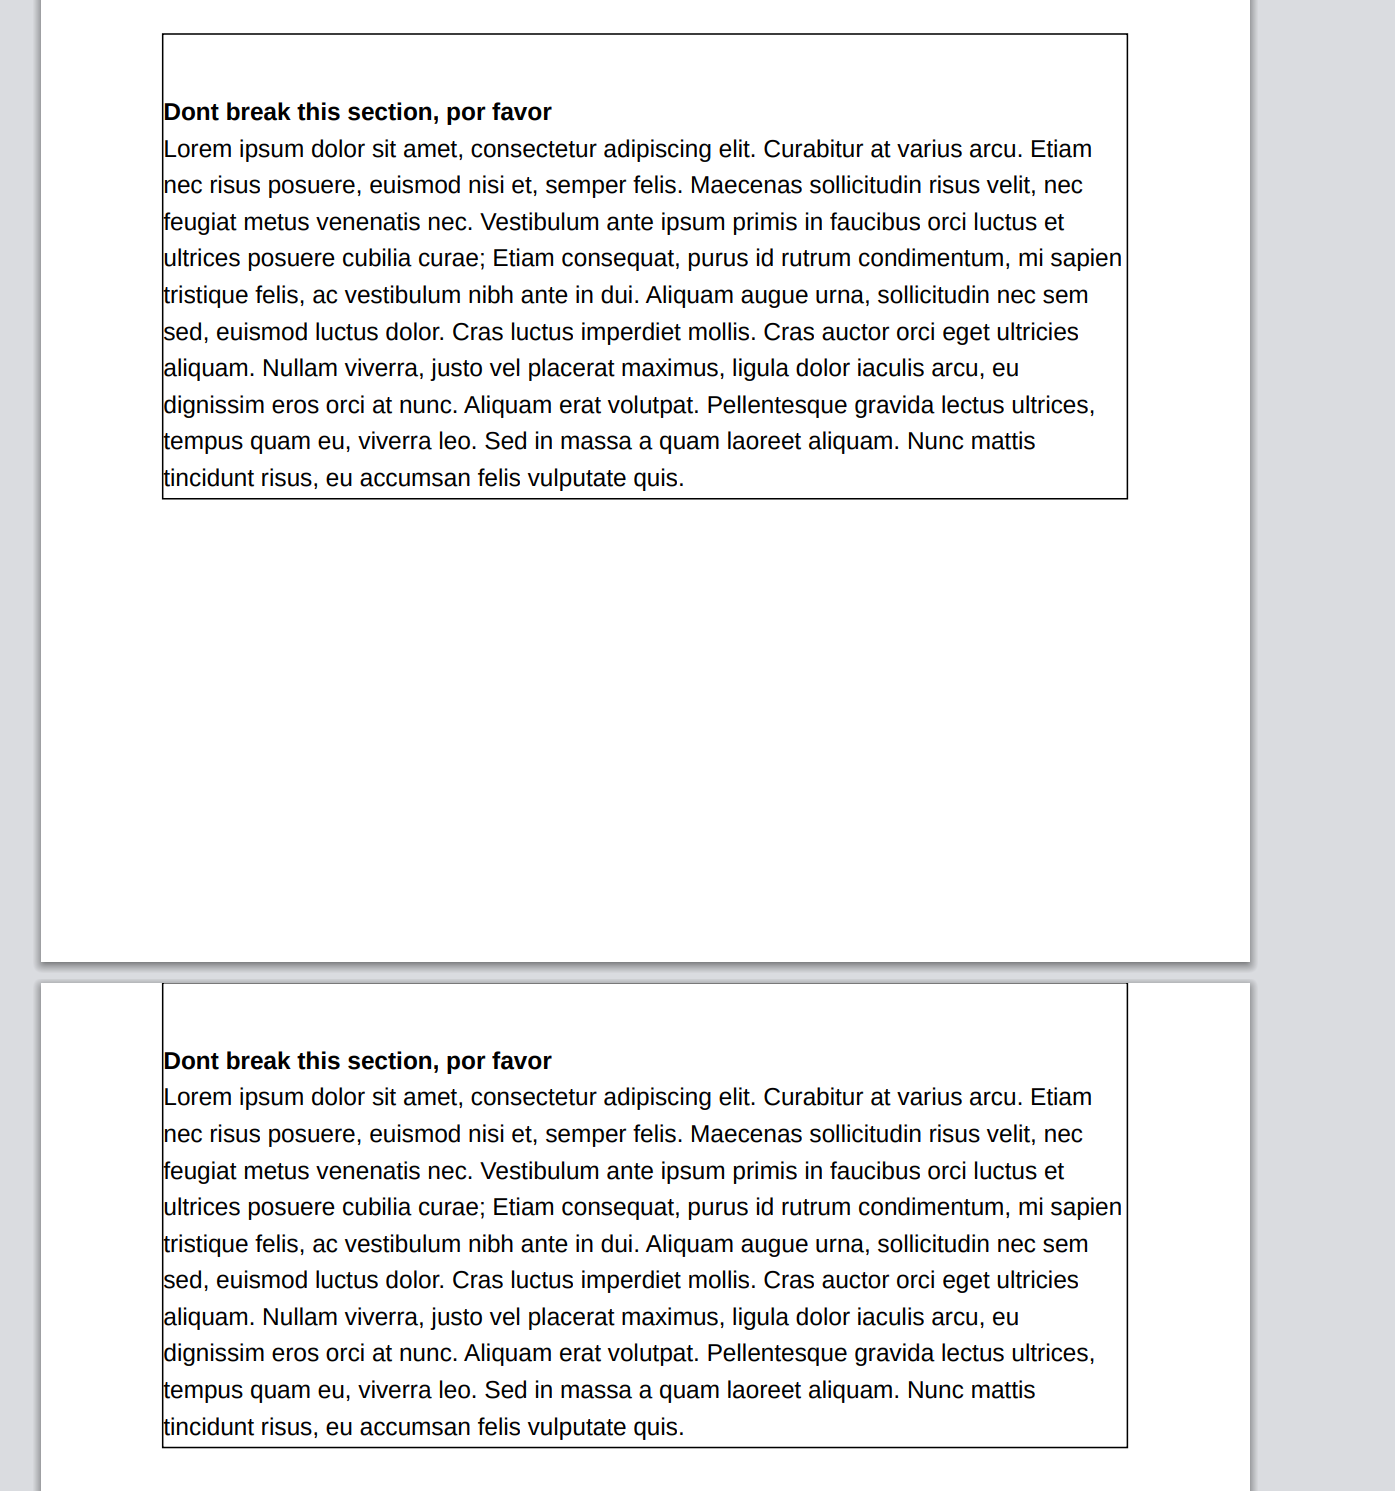
When viewing the page in your browser it will look like the page goes on forever, and the result will only be seen when printing. This is unfortunately a limitation of the process since how chromium splits a page is dark magic hidden in a verbose specification loosely implemented in obscure lines of c++.
As you see in the example below none of sections are broken and white space till the end of the page is added. A gotcha is that margins are not respected on the next page, so a sufficient padding is needed or a global margin needs to be set.
Full example showing the abstraction is quite easy to work with:
// src/App.tsx
export const Page = ({ children }: PropsWithChildren<{}>) => {
function App() {
  const knownNumberOfPages = [1, 2, 3];
  const unknownNumberOfItems = [1, 2, 3, 4, 5, 6];
  const loremIpsum = ... // loremIpsum redacted
  return (
    <>
      {[1,2,3].map((num) => (
        <Page>
          <div className="flex items-center justify-center h-full">
            <div>
              <h1>{`This is page ${num}! `}</h1>
            </div>
          </div>
        </Page>
      ))}
      <BottomlessPage>
        <div className="p-20">
          <h1>This one is boooottomless</h1>
          <p>
            It will expand at will, but be careful! You might need to break
            things manually
          </p>
          <div>
          {unknownNumberOfItems.map((_) => (
            <div className="break-inside-avoid border-black border mt-10 pt-10">
              <h2 className="font-bold">Dont break this section, por favor</h2>
              <p>{loremIpsum}</p>
            </div>
          ))}
          </div>
        </div>
      </BottomlessPage>
    </>
  );
}
Conclusion 🧙#
That’s it! Go get your PDFs generated! In the end there are other ways to generate PDFs that are less resource expensive, but all comes down to your use case. In this case this worked out the best. PDFShift was our chosen API and it has worked great so far. Send me a tweet(@theodorc_) or a tut on mastodon(@theodorc) if you have any questions.
Other findings#
I had surprising bug🐛 where site that would normally would be rendered as 7
pages was up 30k pages! This was a chromium
bug. Using
flex and gapon an empty div would provoke this bug. My recommendation is to
avoid gap until its fully stable.
If you want to generate the pdf locally headless use this comand:
chromium --headless --disable-gpu -run-all-compositor-stages-before-draw --virtual-time-budget=100000 --print-to-pdf --print-to-pdf-no-header localhost:$PORT
You need virtual-time-budget⏲️ to let the Javascript do its rendering, remove it
if your application does not need hydration🌊.